Many people find that they need to program the openers of their garage doors on a HomeLink system that came with their cars. Sometimes it may happen that you don’t have the manual of how to program a garage door opener or do not know the procedure of programming the opener; you should not panic, as programming a garage door opener is not a very difficult task. The entire process can be completed within just 5 to 10 minutes if you follow the steps carefully.
A faulty garage door opener cannot work correctly, and hence, it can leave your house vulnerable. So, if you want to know the steps of how to program a garage door opener, let us discuss the procedure.
How to program your garage door opener?
For the successful programming of your garage door opener, the handheld transmitter, receiver, and also in-car transmitter need to be in good operating condition. Thus, you can quickly and successfully program your garage door opener.
The HomeLink system is also available on many cars, and you can purchase it from any reputable shop. This system is compatible with most of the garage door opening systems like Chamberlain, Liftmaster, Genie, Craftsman, Allstar, Overhead Door, and Wayne Dalton. You just have to know that the garage door opener operates on the frequency of 288-433 MHz, so, at the back of the handheld transmitter; just find the frequency of your unit for accurate operation.
Steps of programming your garage door opener
For programming your garage door opener, you need to lower and raise the door. So, to conduct the process safely, you should ensure that your children and pets stay away from the area. Now, you can follow the steps mentioned below:
- Before starting the programming procedure, make sure to have a new battery in the handheld transmitter. If you cannot remember how old the battery is, it is better to replace it with a new one.
- Now, turn the key to the accessory position or “ACC” before starting the programming process of your garage door opener.
- If you are programming for the first time, then press the two outer buttons on your transmitter for almost 20 seconds until you can see a flashing light.
- Next, on your transmitter, hold the button to be programmed down for 20 to 30 seconds until it starts flashing slowly. Now, you need to keep holding the button down to proceed with the next step.
- In this step, you should grab the handheld transmitter and point it toward that flashing light from near about two inches distance. Now, just press the operation button on your handheld transmitter. After the light starts flashing faster, the frequency will enter into the transmitter, and then you should release both buttons.
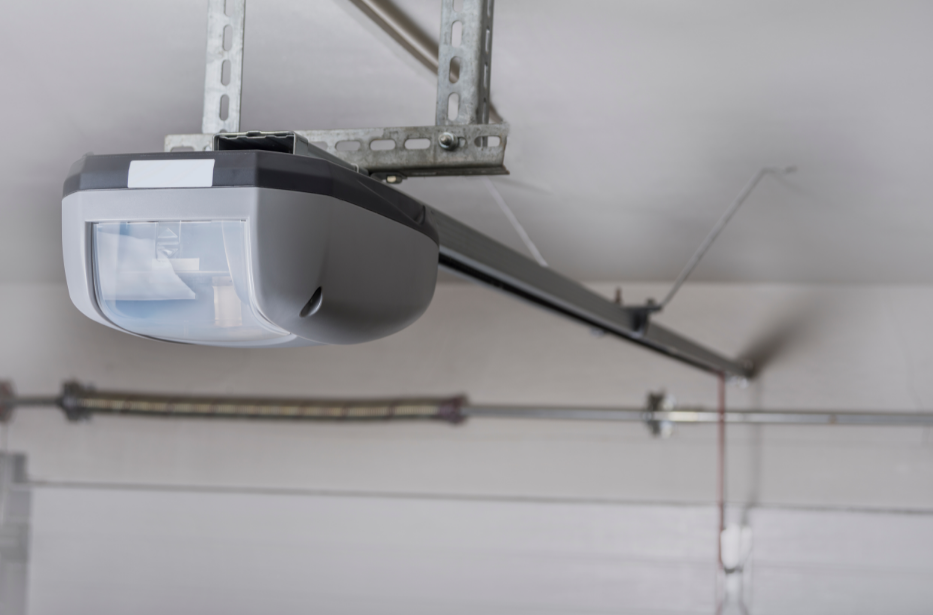
- In this step, you will need a ladder and a flashlight. On the receiver of your garage door opener, you should press the training button, which is also known as the “learn” or “smart” button. If this button is not labeled, it will have a small light next to it which will flash when the button is pressed. If the light of the indicator stays on, then your programming procedure will be complete, and your garage door opener will function properly. However, if the light flashes, then you have only 30 seconds to complete the next step.
- In the car, press the button you have programmed previously on the transmitter within your car for three seconds while the key is still turned to ACC. Now, release the button, and press again for another three seconds. Once the door moves, the opener of your garage door has been programmed.
This is the complete guide for how to program a garage door opener; however, if you need expert advice, you can consult the experts of TC Garage Door and Locksmith Services.


